如何快速构建一个 Spring Boot 工程?
作者 |唐亚峰责编 | 胡巍巍Spring Boot是为了简化Spring应用的创建、运行、调试、部署等一系列问题而诞生的产物,自动装配的特性让我们可以更好的关...

作者 | 唐亚峰
责编 | 胡巍巍
Spring Boot 是为了简化 Spring 应用的创建、运行、调试、部署等一系列问题而诞生的产物, 自动装配的特性让我们可以更好的关注业务本身而不是外部的 XML 配置,我们只需遵循规范,引入相关的依赖就可以轻易的搭建出一个 Web 工程。
未接触 SpringBoot 之前,搭建一个普通的 Web 工程往往需要花费30分钟左右,如果遇到点奇葩的问题耽搁的时间会更长一点,但自从用了 SpringBoot 后,真正体会到什么叫分分钟搭建一个 Web,让我拥有更多的时间跟我的小伙伴们唠嗑了。
使用 SpringBoot 后发现一切是如此的简单(还记得读书那会被JAR包,XML 支配的恐惧吗,如今都可以说 good bye)。


设计的目标
为所有使用 Spring 的开发者提供一个更简单,快速的入门体验;
提供一些常见的功能、如监控、Web 容器,健康,安全等功能;
干掉 XML,遵循规范,开箱即用。

前提
SpringBoot 为我们提供了一系列的依赖包,所以需要构建工具的支持: Maven 或 Gradle。由于本人更习惯使用 Maven,所以后续案例都是基于 Maven 与 IntelliJ IDEA,同时这里是基于最新的 SpringBoot2 编写的哦......

创建项目
初次接触,我们先来看看如何创建一个 SpringBoot项目,这里以 IntelliJ IDEA为例,其他的IDE工具小伙伴们自行搜索创建方式。
创建完项目后,各位小伙伴请认真、细心的对比下与传统的 Web 工程有何区别(如:目录结构)。
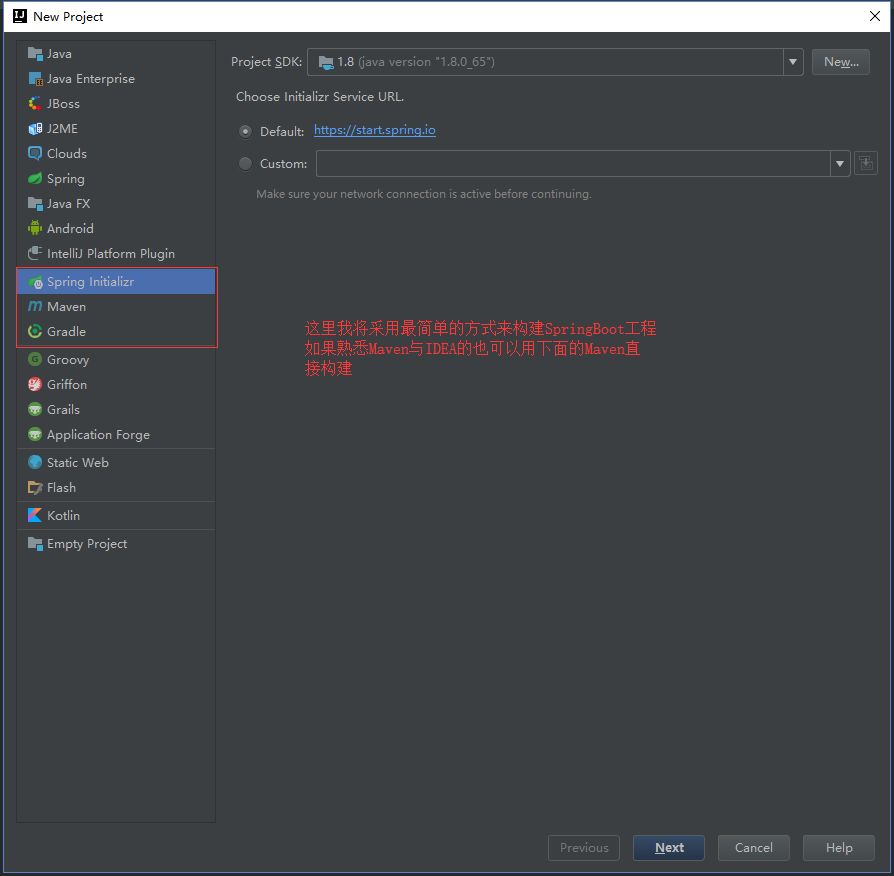
点击 File->Project
如果用过 Eclipse/IDEA 等工具的,对创建项目肯定不会陌生,但为了照顾第一次使用的我贴上了图文。

选择 Spring Initializr
到这一步选择的时候,如图中选项的是 Spring Initializr(官方的构建插件,需要联网),第二个是自己选择 Maven 构建,为了更好的适合初学者,我们将在本章用插件构建。
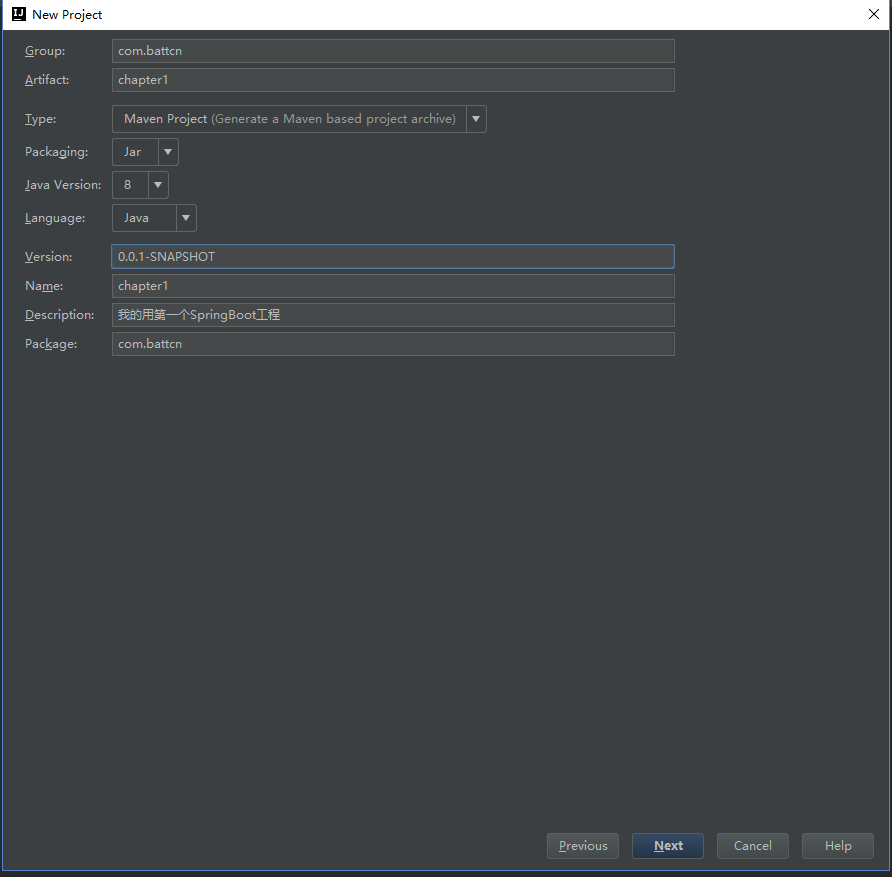
填写项目基本信息
Group: 组织 ID,一般分为多个段,这里我只说两段,第一段为域,第二段为公司名称。域又分为 org、com、cn等等,其中 org 为非营利组织,,com为商业组织。如阿里、淘宝(com.alibaba/com.taobao)。
Artifact:唯一标识符,一般是项目名称。
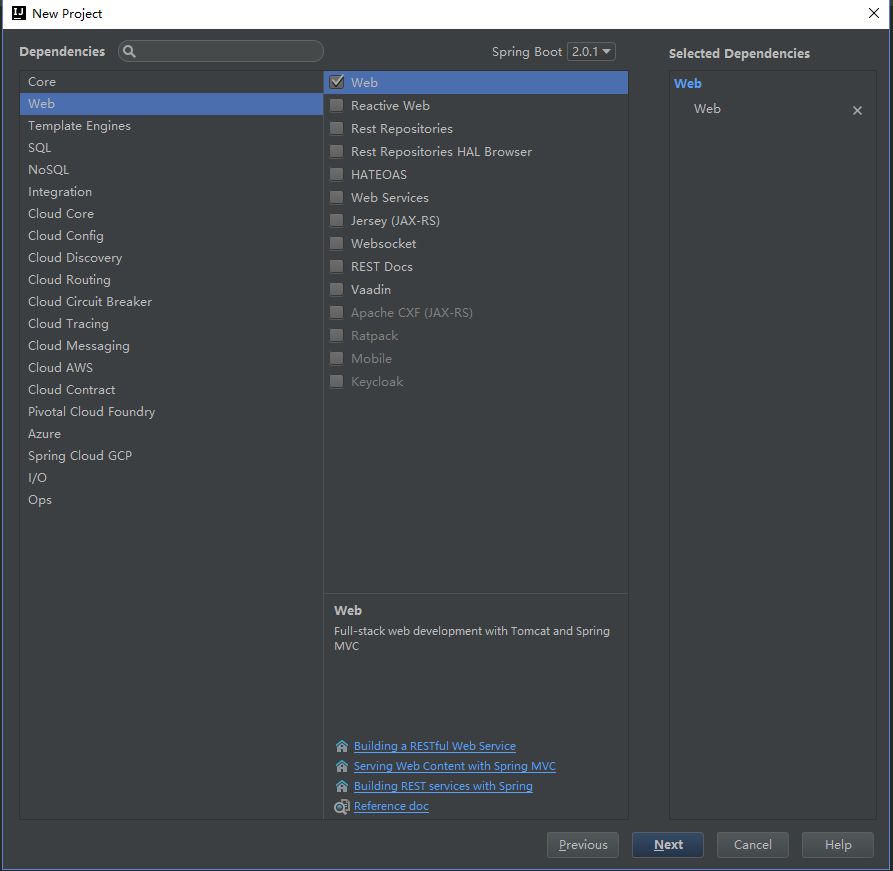
择包
Spring Initializr 为我们提供了很多的选项,不同的选项有不同的作用,在初期我们只需要依赖 Web->Web就可以了,选择好依赖包之后点击 Next -> Finish。

目录结果
src
   -main
       -java
           -package
               #主函数,启动类,运行它如果运行了 Tomcat、Jetty、Undertow 等容器
               -SpringbootApplication
       -resouces
           #存放静态资源 js/css/images 等
           - statics
           #存放 html 模板文件
           - templates
           #主要的配置文件,SpringBoot启动时候会自动加载application.yml/application.properties
           - application.yml
   #测试文件存放目录
   -test
# pom.xml 文件是Maven构建的基础,里面包含了我们所依赖JAR和Plugin的信息
- pom

pom.xml 依赖
因为使用了 Spring Initializr 插件,所以如下的配置都不需要我们自己去写啦,需要注意的是版本要选择 RELEASE ,稳定版本 Bug 少。
<project xmlns="http://maven.apache.org/POM/4.0.0" xmlns:xsi="http://www.w3.org/2001/XMLSchema-instance"
xsi:schemaLocation="http://maven.apache.org/POM/4.0.0 http://maven.apache.org/xsd/maven-4.0.0.xsd">
<modelVersion>4.0.0</modelVersion>
<groupId>com.battcn</groupId>
<artifactId>chapter1</artifactId>
<version>0.0.1-SNAPSHOT</version>
<packaging>jar</packaging>
<name>chapter1</name>
<description>我的用第一个SpringBoot工程</description>
<!--版本采用的是最新的 2.0.1.RELEASE TODO 开发中请记得版本一定要选择 RELEASE 哦 -->
<parent>
<groupId>org.springframework.boot</groupId>
<artifactId>spring-boot-starter-parent</artifactId>
<version>2.0.1.RELEASE</version>
<relativePath/> <!-- lookup parent from repository -->
</parent>
<properties>
<project.build.sourceEncoding>UTF-8</project.build.sourceEncoding>
<project.reporting.outputEncoding>UTF-8</project.reporting.outputEncoding>
<java.version>1.8</java.version>
</properties>
<dependencies>
<!-- 默认就内嵌了Tomcat 容器,如需要更换容器也极其简单-->
<dependency>
<groupId>org.springframework.boot</groupId>
<artifactId>spring-boot-starter-web</artifactId>
</dependency>
<!-- 测试包,当我们使用 mvn package 的时候该包并不会被打入,因为它的生命周期只在 test 之内-->
<dependency>
<groupId>org.springframework.boot</groupId>
<artifactId>spring-boot-starter-test</artifactId>
<scope>test</scope>
</dependency>
</dependencies>
<build>
<plugins>
<!-- 编译插件 -->
<plugin>
<groupId>org.springframework.boot</groupId>
<artifactId>spring-boot-maven-plugin</artifactId>
</plugin>
</plugins>
</build>
</project>
其它的依赖可以参考:官方文档。

主函数入口
注意事项: 一个项目中切记不要出现多个 main 函数,否在在打包的时候 Spring-Boot-Maven-plugin 将找不到主函数(主动指定打包主函数入口除外......)。
/**
* 我的第一个SpringBoot程序
* 其中 @RestController 等同于 (@Controller 与 @ResponseBody)
*
* @author Levin
*/
public class Chapter1Application {
public static void main(String[] args) {
SpringApplication.run(Chapter1Application.class, args);
}
public String demo1() {
return "Hello battcn";
}
public CommandLineRunner commandLineRunner(ApplicationContext ctx) {
// 目的是
return args -> {
System.out.println("来看看 SpringBoot 默认为我们提供的 Bean:");
String[] beanNames = ctx.getBeanDefinitionNames();
Arrays.sort(beanNames);
Arrays.stream(beanNames).forEach(System.out::println);
};
}
}

初窥配置文件
从启动日志中可以发现, SpringBoot 默认的端口是 8080 ,那么如果端口被占用了怎么办呢?不要慌,问题不大,配置文件分分钟解决你的困扰......
2018-04-20 16:14:46.725 INFO 11184 --- [ main] o.s.b.w.embedded.tomcat.TomcatWebServer : Tomcat started on port(s): 8080 (http) with context path ''
修改默认配置。
# 默认的 8080 我们将它改成 9090
server.port=9090
# 未定义上下文路径之前 地址是 http://localhost:8080 定义了后 http://localhost:9090 你能在tomcat做的事情,配置文件都可以
server.servlet.context-path=/chapter1
再启动一次看看日志。
2018-04-20 16:47:05.716 INFO 12108 --- [ main] o.s.b.w.embedded.tomcat.TomcatWebServer : Tomcat started on port(s): 9090 (http) with context path '/chapter1'

测试
本次测试采用Junit 进行,当然也可以启动项目后直接访问 http://localhost:9090/chapter/demo1 进行测试。
import org.junit.Before;
import org.junit.Test;
import org.junit.runner.RunWith;
import org.springframework.beans.factory.annotation.Autowired;
import org.springframework.boot.test.context.SpringBootTest;
import org.springframework.boot.test.web.client.TestRestTemplate;
import org.springframework.boot.web.server.LocalServerPort;
import org.springframework.http.ResponseEntity;
import org.springframework.test.context.junit4.SpringRunner;
import java.net.URL;
import static org.junit.Assert.assertEquals;
(SpringRunner.class)
(webEnvironment = SpringBootTest.WebEnvironment.RANDOM_PORT)
public class Chapter1ApplicationTests {
private int port;
private URL base;
private TestRestTemplate template;
public void setUp() throws Exception {
// TODO 因为我们修改了 content-path 所以请求后面要带上
this.base = new URL("http://localhost:" + port + "/chapter1/demo1");
}
public void demo1() throws Exception {
ResponseEntity<String> response = template.getForEntity(base.toString(), String.class);
assertEquals(response.getBody(), "Hello battcn");
}
}

拓展知识
自定义Banner
SpringBoot 启动的时候我们可以看到如下内容,这一块其实是可以自定义的哦,而且在 2.X 版本中,它支持的格式从文本扩展到 banner.txt、banner.jpg、banner.gif、banner.jpeg 等等,只需要在 resouces 目录下添加指定命名的文件即可。
. ____ _ __ _ _
/\ / ___'_ __ _ _(_)_ __ __ _
( ( )___ | '_ | '_| | '_ / _` |
\/ ___)| |_)| | | | | || (_| | ) ) ) )
' |____| .__|_| |_|_| |___, | / / / /
=========|_|==============|___/=/_/_/_/
:: Spring Boot :: (v2.0.1.RELEASE)

总结
目前很多大佬都写过关于 SpringBoot 的教程了,如有雷同,请多多包涵,本教程基于最新的 Spring-Boot-Starter-parent:2.0.1.RELEASE编写,包括新版本的特性都会一起介绍...
作者:唐亚峰 | battcn。分享技术、记录生活、专注 Spring Boot、Spring Cloud、微服务等技术分享,欢迎一起交流探讨。从零开始、以实战落地为主,不定期分享干货。漫漫架构之路,让我们一起见证!
本文系作者投稿,版权归作者所有。文章内容不代表CSDN立场。
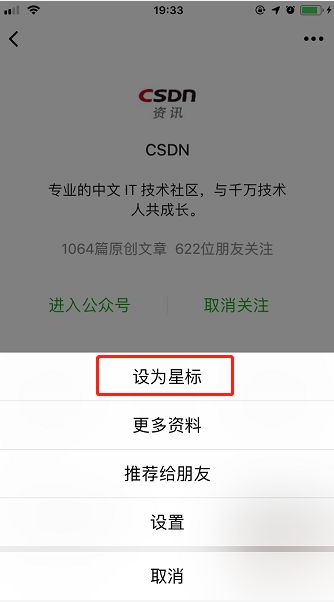
苹果手机的微信改版了,
想快速看到CSDN的热乎文章,
赶快把CSDN公众号设为星标吧,
打开公众号,点击“设为星标”就可以啦!
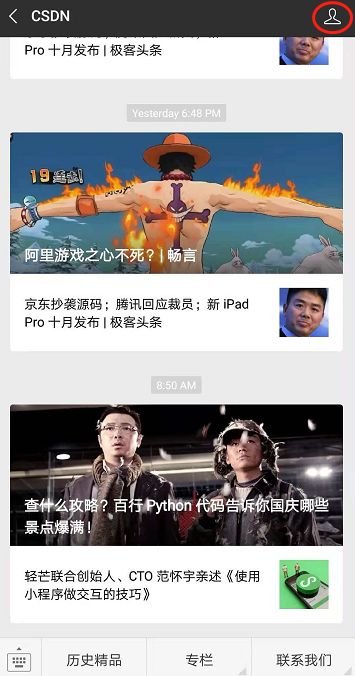
安卓手机的用户,
点击公众号右上角小人,就可以置顶啦。

“ 征稿啦”
CSDN 公众号秉持着「与千万技术人共成长」理念,不仅以「极客头条」、「畅言」栏目在第一时间以技术人的独特视角描述技术人关心的行业焦点事件,更有「技术头条」专栏,深度解读行业内的热门技术与场景应用,让所有的开发者紧跟技术潮流,保持警醒的技术嗅觉,对行业趋势、技术有更为全面的认知。
如果你有优质的文章,或是行业热点事件、技术趋势的真知灼见,或是深度的应用实践、场景方案等的新见解,欢迎联系 CSDN 投稿,联系方式:微信(guorui_1118,请备注投稿+姓名+公司职位),邮箱(guorui@csdn.net)。
推荐阅读:


20年前,《新程序员》创刊时,我们的心愿是全面关注程序员成长,中国将拥有新一代世界级的程序员。20年后的今天,我们有了新的使命:助力中国IT技术人成长,成就一亿技术人!
更多推荐


 0
0 0
0- 0


 已为社区贡献12386条内容

所有评论(0)